My husband has kept a little red Swiss army knife in the front pocket of his jeans for as long as I’ve known him. He wings it out every once in a while to use one of the handy 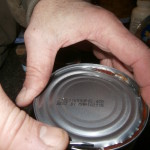 gadgets on it and had a little bit of angst for weeks before we boarded a plane to Italy at not being able to get it through customs.
I wonder sometimes if he was just born into the wrong era. Are there other men out there still hanging on to habits like this one that belonged to our grandparents’ generation?
Though I’ve given him a bit of grief about it, I was never so grateful to see it come out as I was when our newfangled can opener bit the dust over the holidays. He had the same twinkle in his eye as Santa when he opened that can!
His can-opener is in line with Keeping it Simple! I wrote in my last post that I wanted to consider the ingredients of my life periodically and seeing Darrell open that can made me think again about how much I really need. It may not keep me from going out to get another can opener (I’ve tried those pocket-knife openers, they’re not easy!) but I’m adding in an ingredient to my life that I learned about recently called the “practice of enough.”
The practice begins (simply) with a question: What constitutes enough in my life? enough food? enough sleep? enough work? enough fun little kitchen gadgets?
Given that, I’m sharing my no-fail-anybody-can-do-it recipe for focaccia that requires just the basics; just enough. Just enough ingredients, time, and effort to produce something that will get you rave reviews from everyone at your table.
Likely you already have everything you need for this recipe so there’s not much else to do but grab your apron and get started….
Keep It Simple Focaccia
4 cups all purpose flour (although I often mix in bread or wheat flour)
2 tsp active dry yeast
1 tsp salt
1 3/4 – 2 cups room temperature water (sticky but not soup!)
a glog of olive oil (…so about 3 Tablespoons)
Directions:
Mix all ingredients till combined. The dough will be sticky (life’s like that sometimes, right?) but in this case, the
stickiness allows for the large air pockets that make focaccia well…focaccia. It’s also the reason this dough is so easy.
Since the gluten starts forming as soon as the dough is moist, let the dough do most of the work. Instead of traditional kneading. we’ll do just enough so that the dough becomes smooth and pliable.
Let the dough rest in a lightly oiled bowl for 15 minutes once you have it mixed. If you’re like me, you’ll need to set a timer!
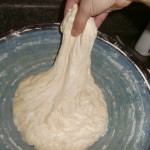
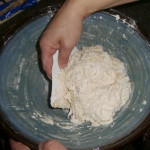
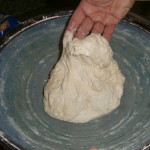
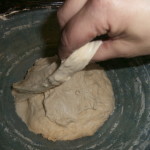
beginning at the top of your dough ball, stretch the dough then fold it over itself before moving on to the next stretch and fold.
When the timer goes off, begin at the top of your dough ball and give it a stretch then fold it over itself (see pictures) Flour your hands if needed.
Make a quarter turn of your bowl and stretch and fold the next side. Continue on until you’ve made it all the way around the bowl.
Rest the dough another 15 minutes and repeat. I usually do this 4 times total and find myself amazed every time at how smooth and pliable the dough becomes as it rests. (There’s something for me to learn in that. Sometimes a rest can soften my edges and my attitude way more than an intense workout can!)
After the 4th stretch and fold, cover the dough and let it rest till doubled in size; approximately 60-90 minutes. Line a baking sheet with parchment paper and oil it (if you don’t have parchment, just oil the pan)
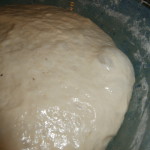
You’ll notice giant air bubbles in your dough. ![]() Since this is one of the marks of a good focaccia, handle your dough gently and stretch it to fit the pan leaving the air pockets in tact as much as you can. I like to get my hands underneath the dough and stretch it first from the bottom. If your dough wants to pull back too much to the center, let it rest about ten minutes so the gluten relaxes and then it’ll stretch again.
Since this is one of the marks of a good focaccia, handle your dough gently and stretch it to fit the pan leaving the air pockets in tact as much as you can. I like to get my hands underneath the dough and stretch it first from the bottom. If your dough wants to pull back too much to the center, let it rest about ten minutes so the gluten relaxes and then it’ll stretch again.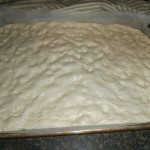 (More good advice for us, too!)
Cover and allow to rest 30 – 60 minutes. It doesn’t need to double in size…. but it can. My time frame generally rests on when dinner is going to be ready. Remember that this is the no-fail-anybody-can-do-it focaccia so go ahead and experiment!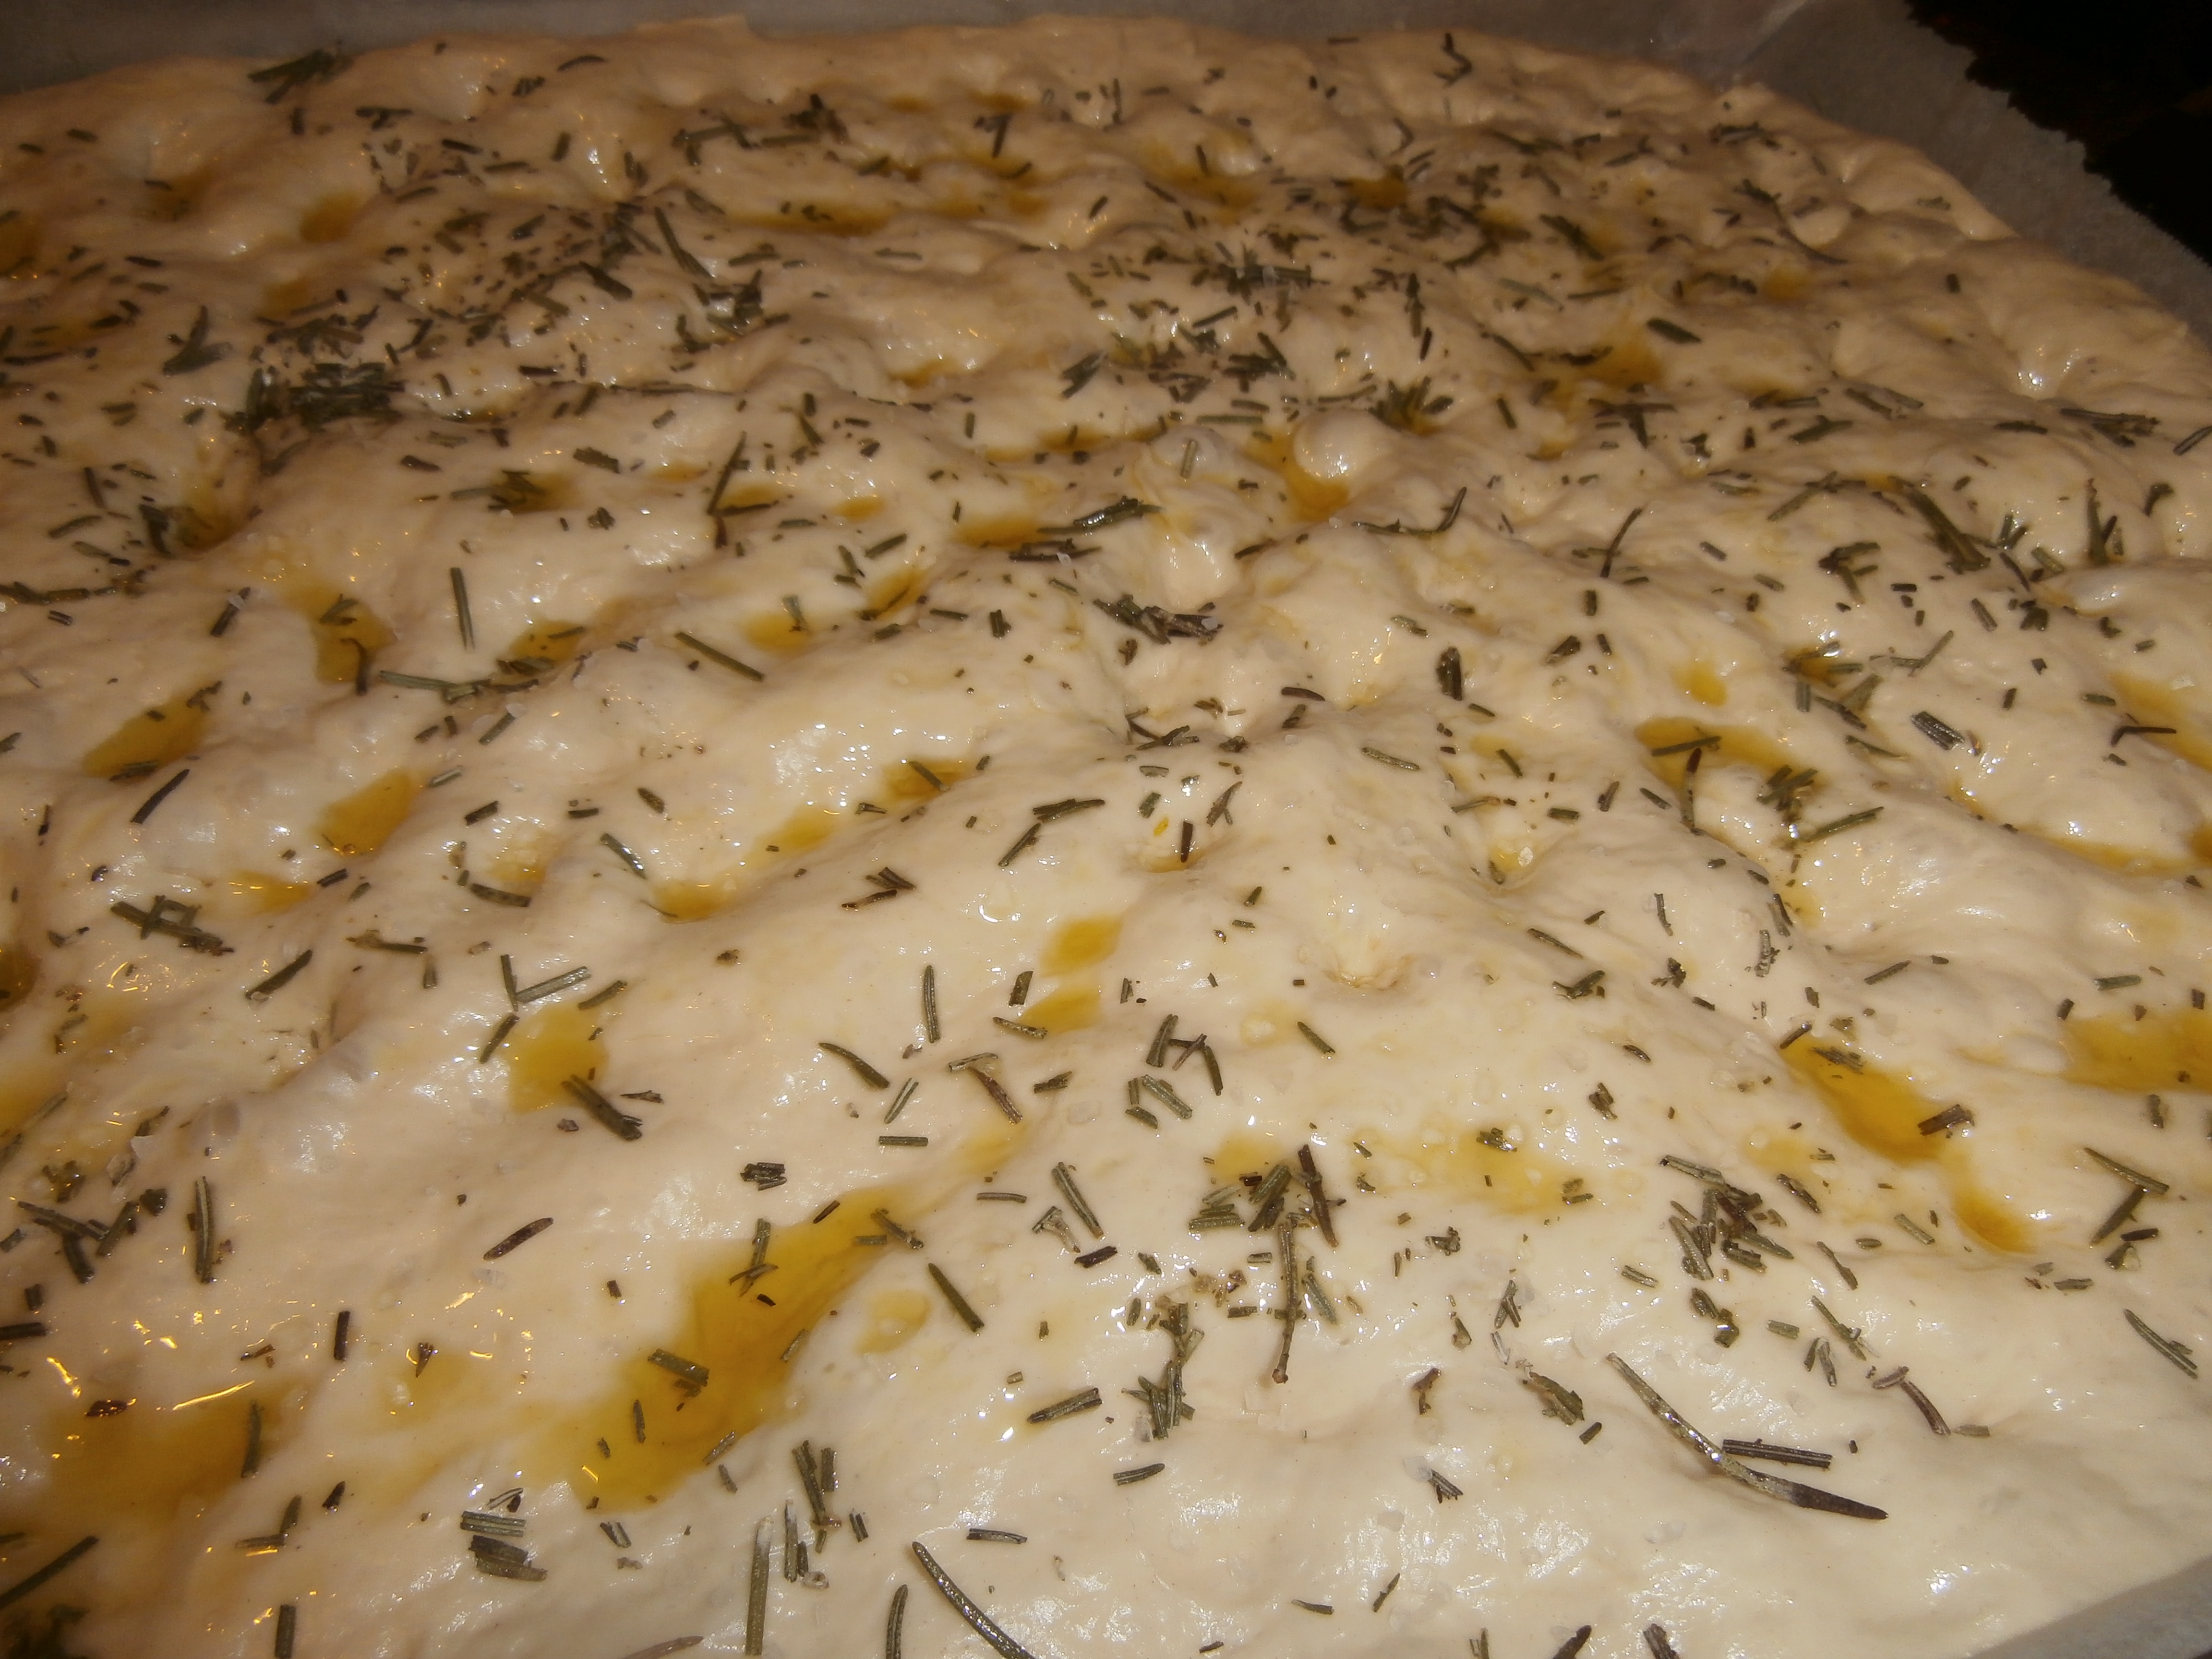
Just before putting it into a 450 degree oven, I use my fingertips to make some wells in the top and drizzle it with olive oil, a good sprinkle of rosemary, and some coarse sea salt. (be creative here….garlic? basil? this and/or that?) Pop any giant air bubbles just on the top now (or they might burn).
Bake until golden brown (about 20-25 minutes; rotate the pan if you like 1/2 way through baking).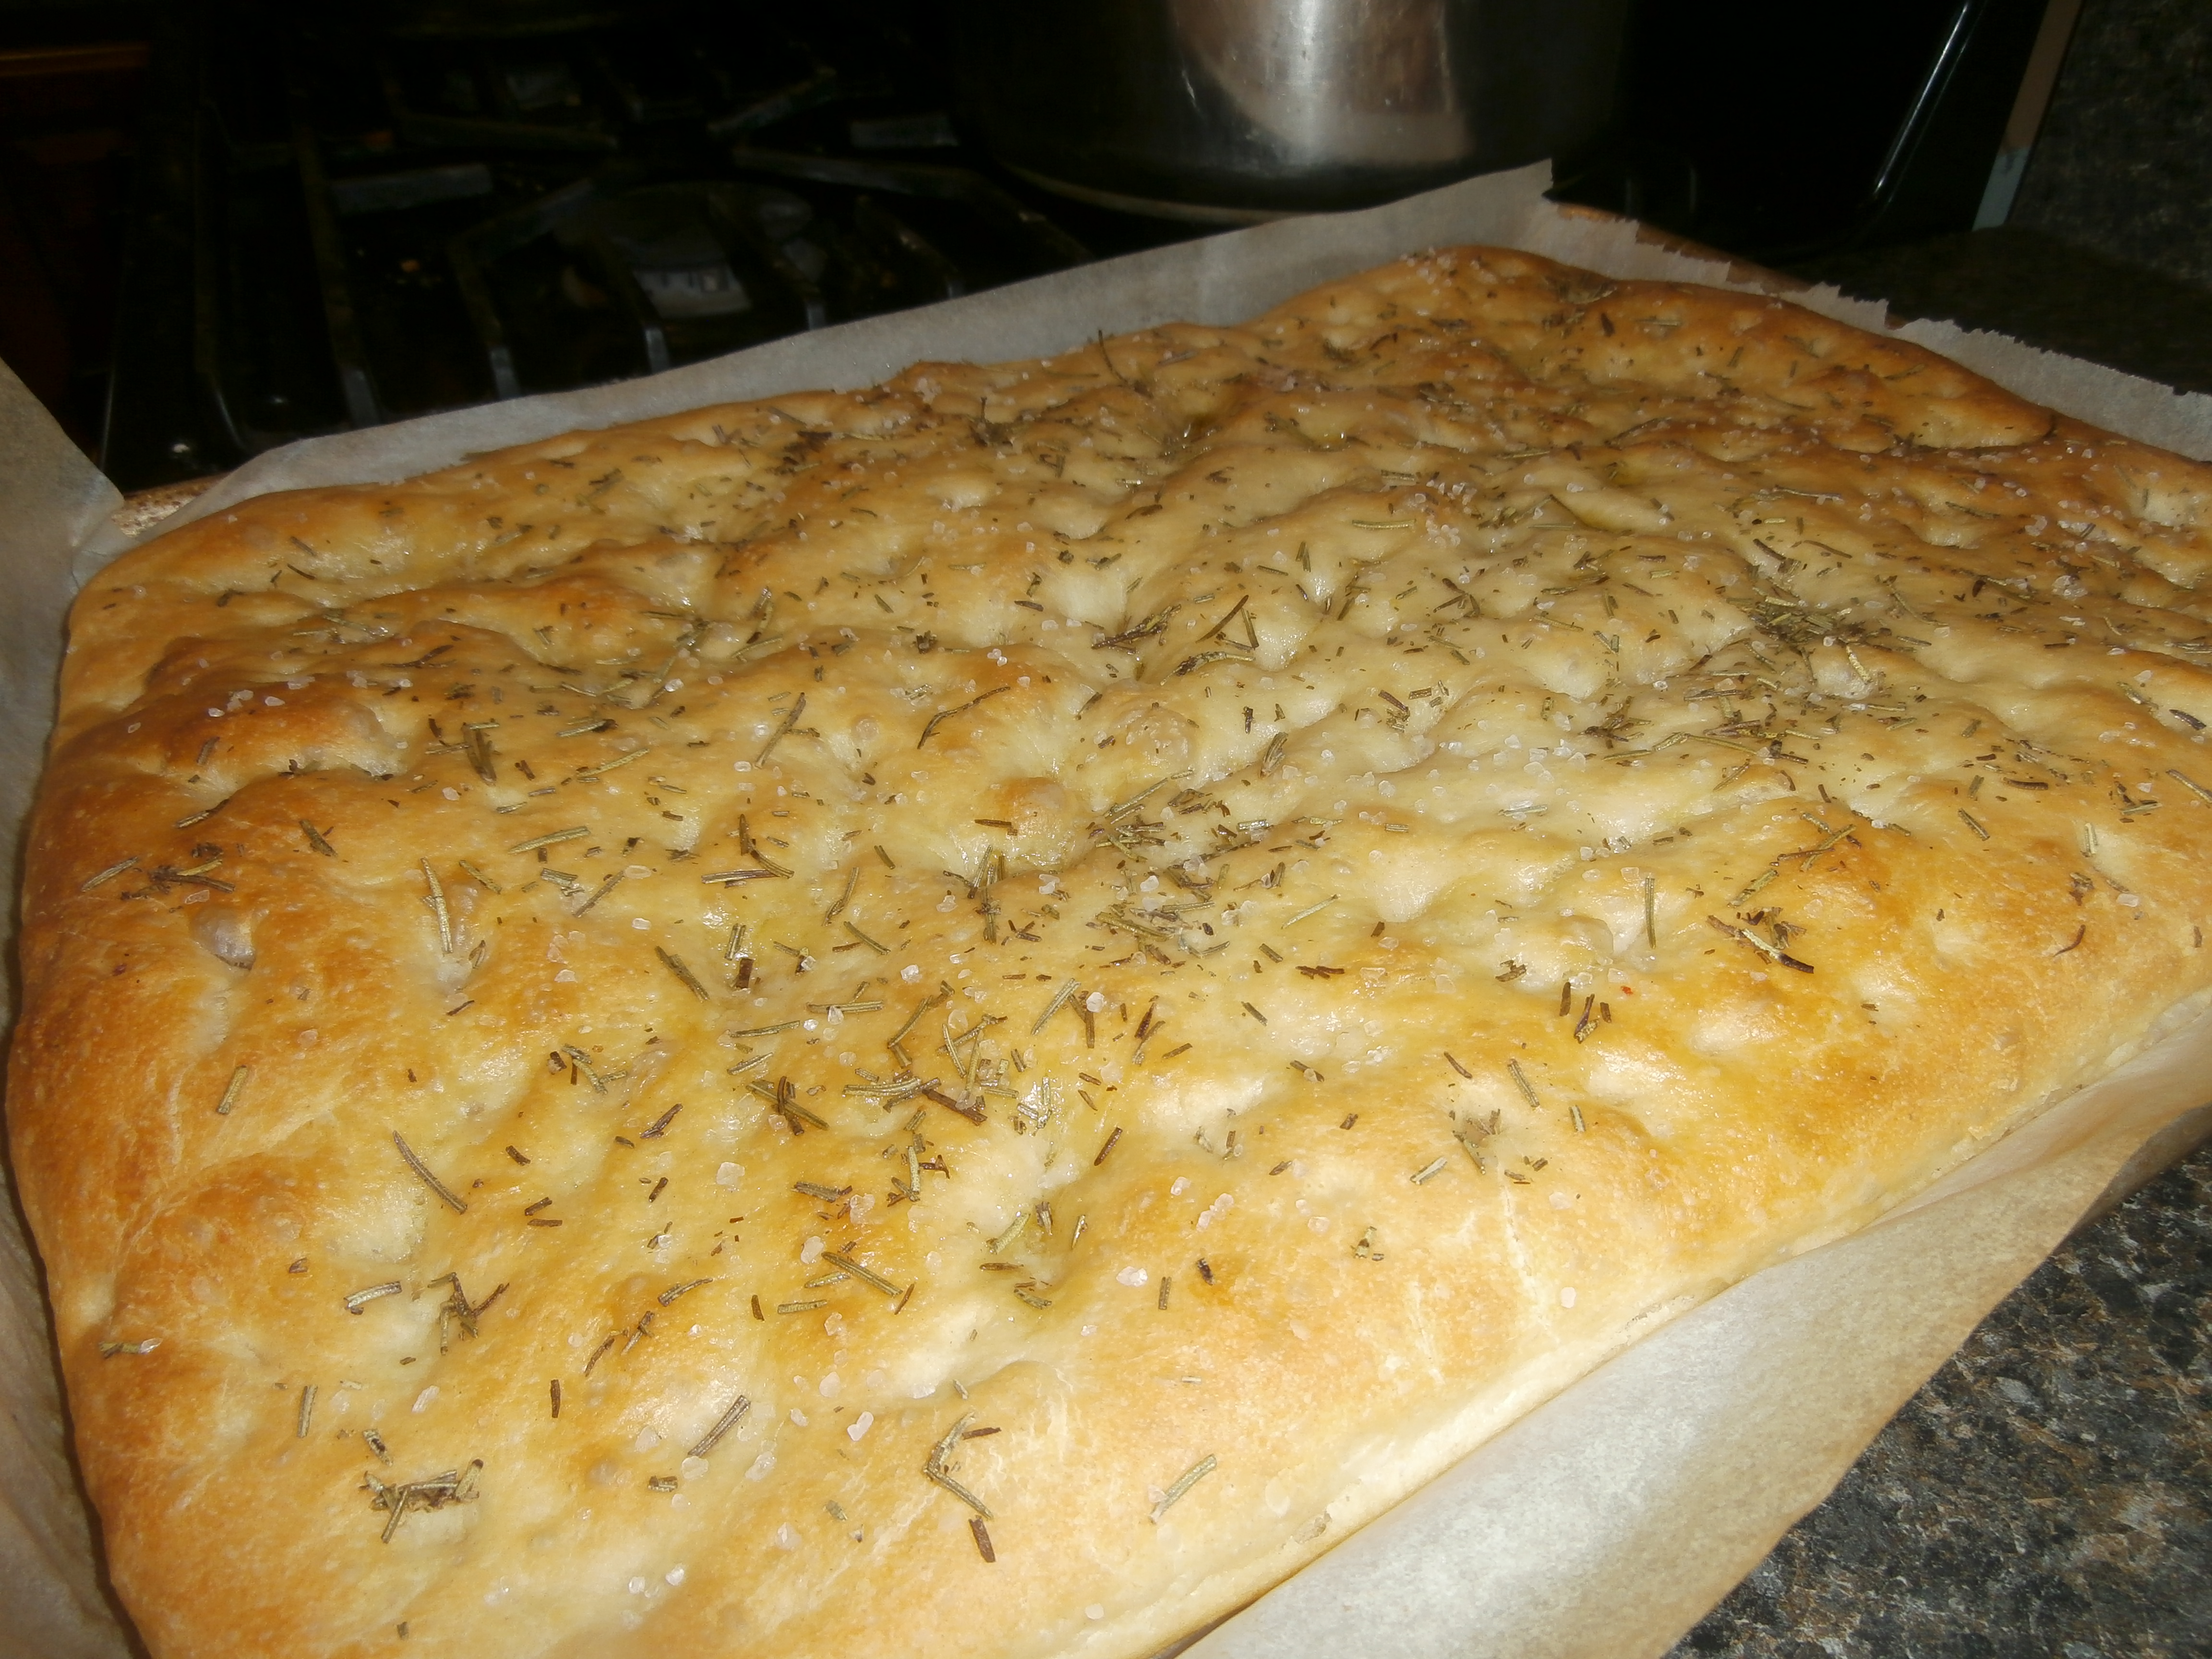
Unlike other loaf breads, we’ll cut this one right out of the oven or at least while it’s still warm. 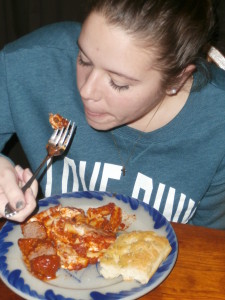
It’s great with a dipping oil, but we couldn’t resist making a baked ziti while the bread was rising (the keep it simple version of lasagne in my opinion!)
There are great ideas coming for what to do with leftovers…and a few thoughts on crumbs! Stay tuned!! If you haven’t looked at my family’s recipes for Sicilian bread, check out my post Muiolatte!
Please post your thoughts, results and any creative straying you do from my recipe!
Mary
Don’t miss out on future recipes and stories of life. click here to Sign up for notification of New Posts!
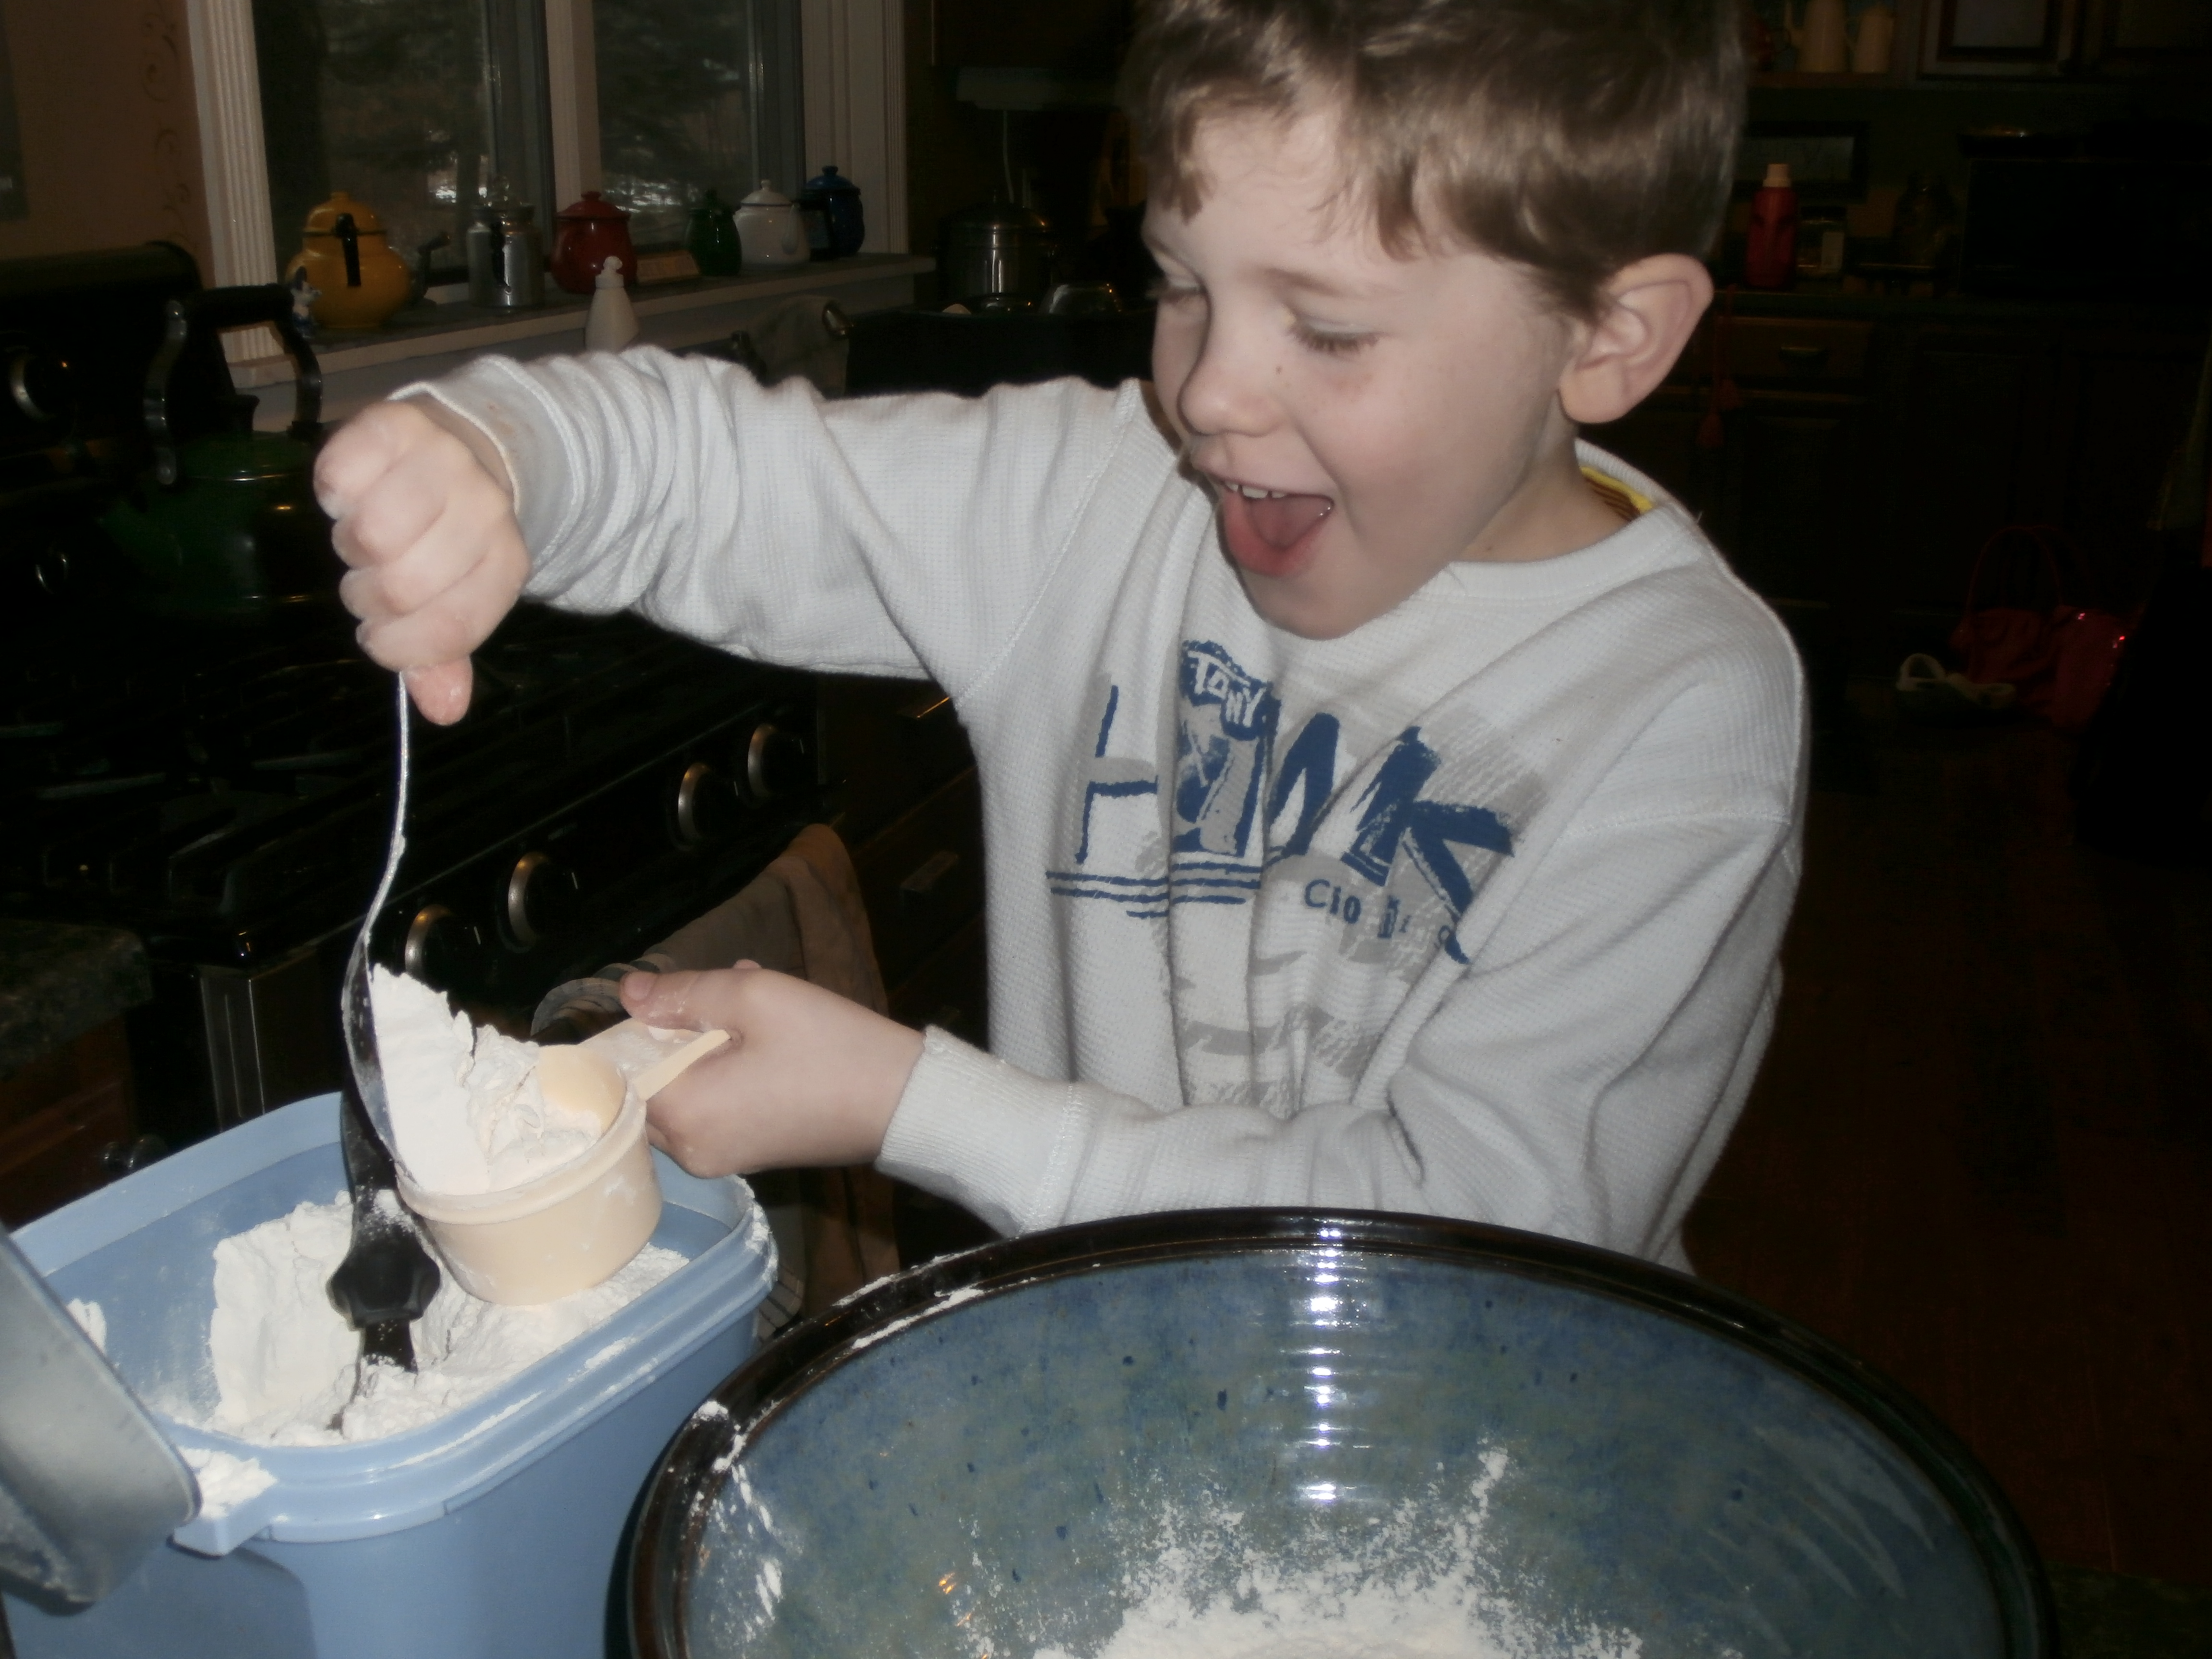


This has long been a family favorite, my cousin Larry has been the expert “foccosh” (as we say it in our family) maker, using fresh rosemary from his garden, sea salt and olive oil. I am however now up to the challenge of competing for a this title!
May the New Year Bless You and Yours in ways that make you say, WOW, I did not expect that!
Thank you for all of the recipes. My new Sunday ritual is to pull up one of your recipes and make it for my family. I am in Palm Springs and making it here. I laughed… my Ben has a knife/opening just like Darrell. I knew they had something in common! I look forward to following the blog and making bread every week. I must say that I cringe at the “rest” stage. I am learning though. Thank you. Rest and repeat.
Pingback: A boy, a tree house….and a stromboli | Kneading Life
Pingback: Lessons From the Road: Yellowstone | Kneading Life